Step one: the call and the estimate
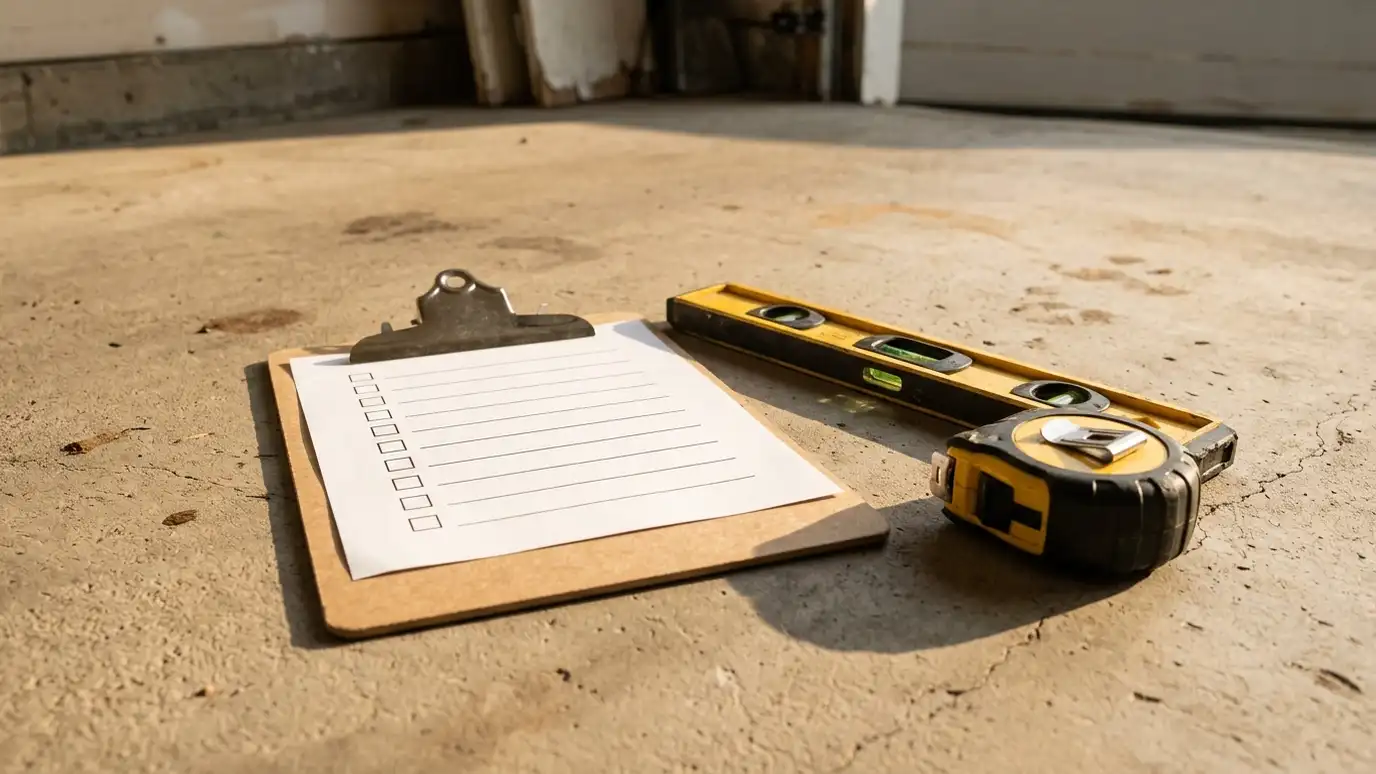
You call and tell us what you have and what you want. We set a Free Estimate visit, ask a few questions about the garage and talk through early ideas.
At the visit we look at the door, the opening, the tracks and the opener, and we discuss style, insulation and hardware. You leave with a clear idea of the options.
The goal of the first visit is understanding, not pressure. You decide when you are ready to go on.
It helps to have photos of the door and the garage ready, along with any paperwork from the original door. A model name or a label on the door can save time, and a few notes about problems you have noticed make the visit more useful.
Step two: measuring
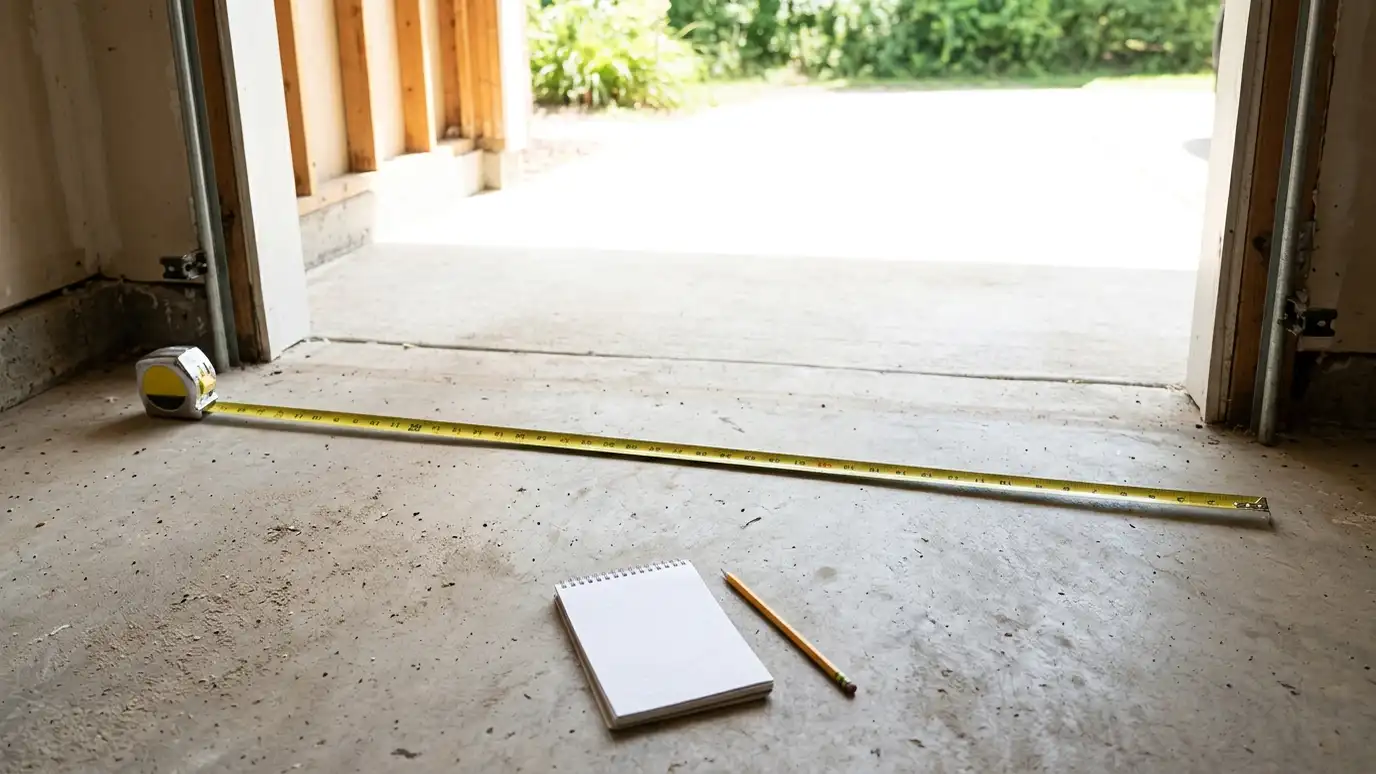
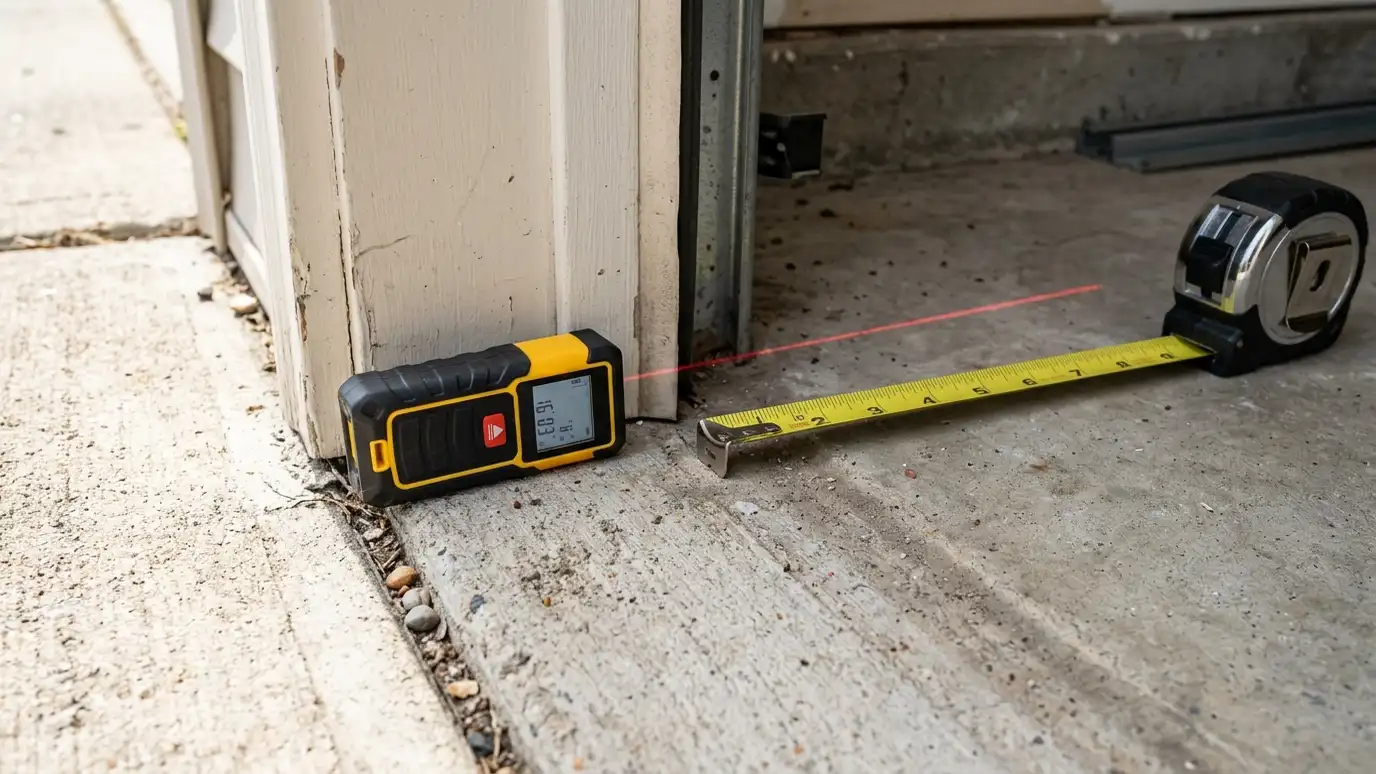
Doors are made to the size of the opening, so measuring is the most important step. We measure the width and height at several points, check the headroom above the opening and note the side room and back room.
We also look at the framing, the floor and the ceiling, since they affect the tracks and the opener.
When a house is new or being remodeled, we measure after the framing and finishes are far enough along that the numbers will not change.
If you are rebuilding or adding on, tell us about the schedule. Framing, drywall and paint all affect when a door can be measured and installed, and we can sequence the work so nothing has to be redone.
Step three: choosing and confirming
We review door model, thickness, insulation, windows, color, hardware and opener with you. You see the choices in writing and approve them before anything is ordered.
If something is unclear, now is the time to ask. Once a custom door is made, changes may not be possible.
We confirm the schedule and any lead time for special orders.
This is also the moment to talk about the opener, remotes and any smart features. Decisions made together are easier to price and install than extras added on the day, and we note all of them in the written scope.
Step four: ordering and preparation
Standard doors may be available within days, and special orders can take a few weeks. We inspect the door when it arrives for dents, scratches and the correct parts.
If something is wrong, we reorder rather than install a compromise.
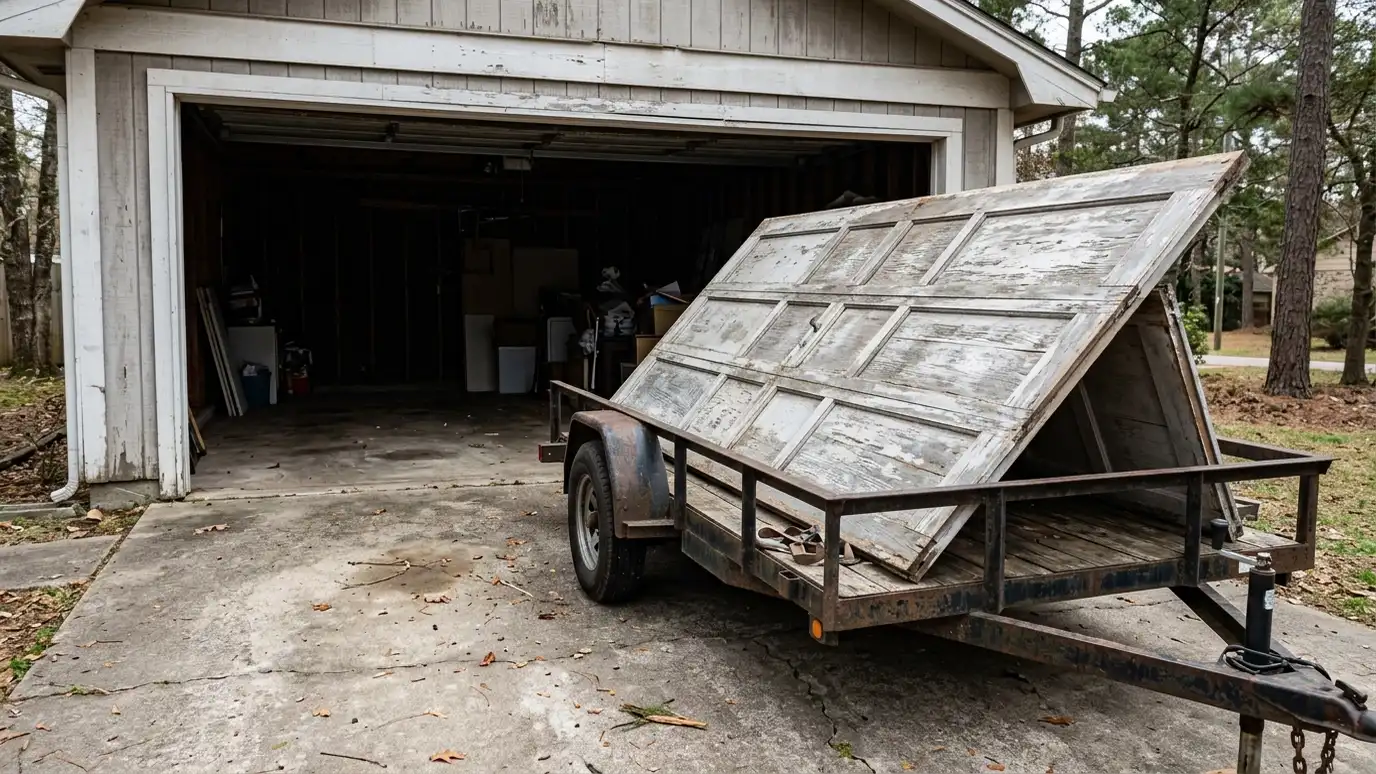
We also prepare the site: clear the area, protect the floor and plan how to remove the old door.
We keep you posted on the order. If a delivery slips or something arrives damaged, you will hear from us right away, along with the new plan. Clear communication matters as much as the work itself.
Step five: installation
We remove the old door, set the tracks, hang the sections, install the springs and cables and balance the door. We then mount the opener, wire the sensors and set the travel limits and force.
Next we test the door by hand, test the opener and run the safety features, including auto-reverse and the photo eyes.
A standard installation often takes half a day to a day.
During the installation we keep the work area tidy, protect the floor and walls and tell you what we find as we go. If old framing is rotten or a track mount is loose, we show you and agree on the fix before continuing.
Step six: walkthrough and care
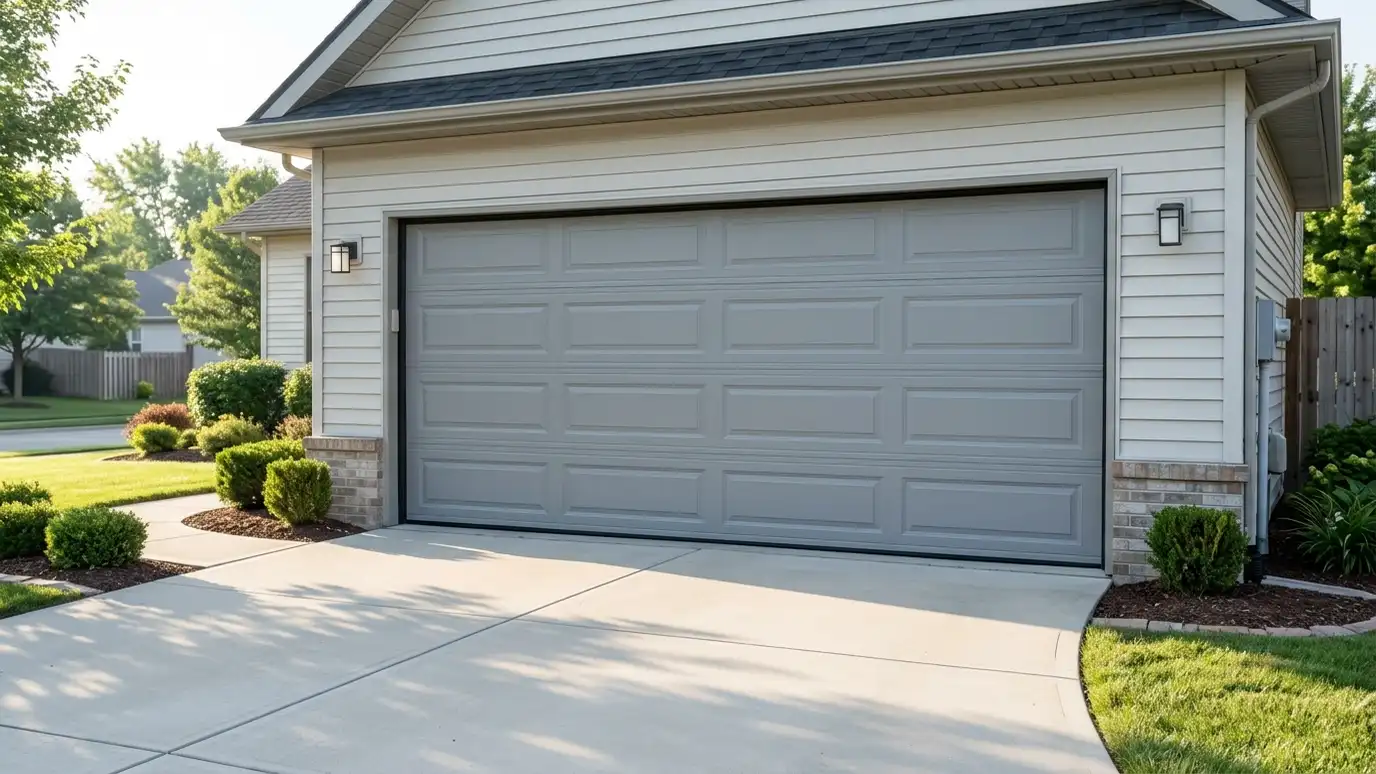
We clean up, haul away the old door if you asked and walk you through the finished work. We show you the manual release, the remotes and the keypad and explain simple care, such as lubrication and testing.
You receive the details of the door and opener you chose, so future service is easy.
We stay reachable after the job, in case you have any questions.
After the walkthrough, keep the paperwork in a safe place. It lists the door, the opener and the settings, which makes future service or a matching replacement part much easier to handle.
Measure carefully, confirm the scope in writing and make sure the door is balanced and tested before the crew leaves.